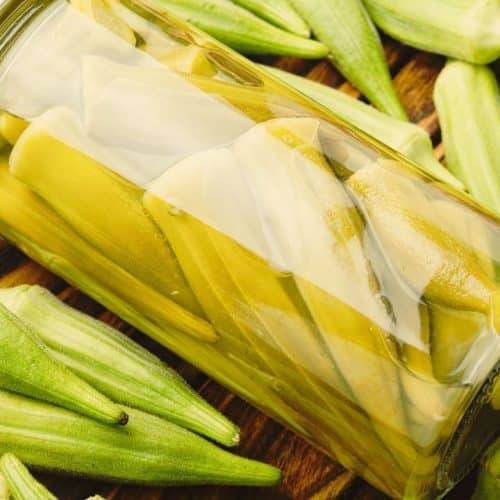
Canned Okra Recipe
Learn how to preserve okra's unique flavor and texture all year long with this simple step-by-step guide to canning okra. Expert tips for maximizing flavor and texture, avoiding sliminess, proper processing times, recommended equipment, and answers to frequently asked questions about home canning okra. Everything you need for safe, delicious jars of canned okra to enjoy for months after the harvest ends.
Equipment
- Pint or quart sized mason jars with new lids & rings
- Water bath canner or large pot with rack
- Jar lifter
- Funnel
- Bubble remover or headspace measuring tool
- Clean kitchen towels
Ingredients
- 1 pound fresh okra pods
- 1 tsp salt optional
- Water optional
- Canning lid and ring
Instructions
- First, inspect your jars for any chips or cracks and ensure they are sparkling clean. Wash in hot soapy water and rinse well. Place the jars in a large pot of water and bring to a simmer for 10 minutes to sterilize. Turn off heat and leave jars in the hot water until ready to fill.
- Prepare your lids and bands by washing in hot soapy water and setting aside until needed. Don't boil the lids, as that could compromise the seal.
- Rinse your fresh okra and trim the stem ends. Leave whole or cut into 1 inch pieces. I prefer whole pods for the best texture.
- Now it's time to fill the hot sterile jars with the okra. You can use the raw pack or hot pack method.
- Raw pack: Pack raw okra tightly into the jars. Place 1 tsp salt in each jar (optional). Leave 1 inch headspace.
- Hot pack: Add okra to a saucepan and add 1 cup water per 1 lb of okra. Bring to a boil and cook for 2 minutes. Loosely pack hot okra into the jars using a funnel and add cooking liquid, leaving 1 inch of headspace.
- Slide a bubble remover or thin plastic utensil around the inside of the jar to remove trapped air bubbles. Refill with more okra if needed to maintain headspace.
- Wipe the rims with a clean towel. Place prepped lids and screw bands on firmly but not overly tight.
- Process the jars in a water bath canner filled halfway with hot water. Make sure the water covers the jars by at least 1 inch. Bring the water to a rolling boil. Once boiling, process pint jars for 25 minutes.
- Carefully remove the jars from the canner using a jar lifter. Avoid tilting or tipping. Allow to cool undisturbed for 12-24 hours. Test seals by pressing gently on the lids. They should not pop up and down. Refrigerate any jars with broken seals and use first.
- And that's it - beautiful home-canned okra sealed and ready for your pantry!